Ubuntu Vnc Server is the perfect way to clone your Heroku server. It’s easy to use and provides a wealth of features, including VNC support.
In this article, we will share information on the ubuntu vnc server gnome, how to install vnc server linux, free vnc server ubuntu and the Best Vnc Server for Ubuntu
Best Vnc Server for Ubuntu
Ubuntu Vnc Server: The Ultimate Heroku Clone.
Ubuntu Vnc Server is a powerful and easy-to-use clone of the Ubuntu Linux operating system that can be used to create heroku clones. It is a simple and efficient way to clone Ubuntu VncServer, making it an ideal choice for anyone who wants to create or manage heroku projects.
How Can I Clone Ubuntu Vnc Server
You can clone Ubuntu Vnc Server using the following steps:
1. Choose a Clone Method
There are three ways to clone Ubuntu VncServer:
a) Via SSH
To clone Ubuntu VncServer using SSH, you can use the following command: ssh -p 2222 your_server_ip [username]@[server_port] (where your_server_ip is the IP address of your server, server_port is the port on which it runs, and [username]] is the user account assigned to you when cloning Ubuntu VncServer.)
b) Via GUI
To clone Ubuntu VncServer using GUI, you can open a new Terminal window and type: sudo apt-clone cd ubuntu-vncserver && sudo ./ubuntu-vncserver –help (where “cd” means “change directory” and “sudo” means “run as administrator).
c) Via CLI
To clone Ubuntu VncServer using CLI, you can use the following command: clone -t ubuntu -d (where is whatever name you want your Heroku clone to have): clonnig -t ubuntu mycli-cli –failover=true mycli (where mycli-cli is the corresponding shell script that will run when cloned).
How Can I Use Ubuntu Vnc Server
Once clones of Debian GNU/Linux systems have been created, users can use them to connect to servers running Debian GNU/Linux systems from outside of their home network or within their home network by using FTP or SFTP direct connections. For more information about FTP or SFTP usage, see “Using FTP or SFPT To Connect To Your Heroku Clone”.
Best Tools to Access Remote Linux Desktop

1. Remote Access Plus
Remote Access Plus is a powerfully built remote support software that enables IT, technicians, to collaborate and troubleshoot devices, located anywhere in the world, in just a few clicks. A centrally hosted server stays in contact with the client machines and technicians can access them on demand.
A simple user interface and client-server architecture enable seamless connectivity for IT and help desk technicians to troubleshoot a remote device. Besides, you can voice or video call, or even text chat with your end-user to understand and resolve the issue better and faster.
Packed with Two Factor Authentication, 256-bit AES encryption, and an action log viewer, you can access and control any remote Linux device without worrying about security. You can also create custom groups to manage your Linux devices. This is especially helpful if you have many Linux devices to manage as dynamic custom groups automatically add devices to the group, provided those devices satisfy a set of defined criteria.
Remote Access Plus is available both as an on-premise and cloud solution. Furthermore, you can choose between three different editions – Free, Standard, and Professional depending upon the number of managed Linux devices and features.
With Remote Access Plus, you can take remote control of various Linux devices, such as those running on Ubuntu, Debian, Red Hat Enterprise Linux, Fedora, CentOS, Mandriva, OpenSuSE, etc., and it supports more than 17 languages too!
2. TigerVNC
TigerVNC is a free, open-source, high-performance, platform-neutral VNC implementation. It is a client/server application that allows users to launch and interact with graphical applications on remote machines.
Unlike other VNC servers such as VNC X or Vino that connect directly to the runtime desktop, tigervnc-vncserver uses a different mechanism that configures a standalone virtual desktop for each user.
It is capable of running 3D and video applications, and it attempts to maintain a consistent user interface and re-use components, where possible, across the various platforms that it supports. In addition, it offers security through a number of extensions that implement advanced authentication methods and TLS encryption.
3. Remmina
Remmina is a free and open-source, fully-featured, and powerful remote desktop client for Linux and other Unix-like systems. It is written in GTK+3 and intended for system administrators and travelers, who need to remotely access and work with many computers.
It is efficient, reliable, and supports multiple network protocols such as RDP, VNC, NX, XDMCP, and SSH. It also offers an integrated and consistent look and feels.
Remmina allows users to maintain a list of connection profiles, organized by groups, supports quick connections by users directly putting in the server address and it provides a tabbed interface, optionally managed by groups plus many more features.
4. XRDP
XRDP is a free and open-source, simple remote desktop protocol server based on FreeRDP and rdesktop. It uses the remote desktop protocol to present a GUI to the user. It can be used to access Linux desktops in conjunction with x11vnc.
It greatly integrates with LikwiseOPEN thus enabling you to log in to a Ubuntu server via RDP using an active directory username/password. Although XRDP is a good project, it needs a number of fixes such as taking over an existing desktop session, running on Red Hat-based Linux distributions, and more. The developers also need to improve their documentation.
5. Xpra
Xpra or X is an open-source cross-platform remote display server and client software, which offers you to access remote applications and desktop screens over SSH sockets with or without SSL.
It enables you to execute applications on a remote host by displaying their screen on your local machine without losing any state after disconnect. It also supports forwarding of sound, clipboard, and printing features.
6. ThinLinc
ThinLinc is a highly secure and fast Linux Remote Server used to publish Linux desktops and applications for multiple users located anywhere and using any client device (Linux, macOS, Windows, and web browser).
The server is easily installed and maintained on any popular Linux distribution and works for 1 to thousands of users. Just add extra agent servers, and you scale the number of users with low effort. It is free of cost the use of ThinLinc for a maximum of 10 concurrent users per organization.
Different from the majority of the VNCs, ThinLinc natively supports Audio Redirection; provides better Image Quality and Responsiveness; is more Secure; Easy to Configure; and has Redundancy, Load Balancing, and High Availability built in.
ThinLinc dynamically changes the settings to offer the best image quality without sacrificing speed to provide a smooth experience even if you are using a limited network or if it is unstable. ThinLinc is heavily used to provide remote 3d and high demanding software with server graphics acceleration through VirtualGL.
ThinLinc is mostly based on open source, it packages TigerVNC, noVNC, SSH, and Pulse Audio in a stable, supported, and enterprise-level software. The company is also the maintainer of TigerVNC and noVNC projects.
Free Vnc Server Ubuntu

VNC stands for Virtual Network Computing and is a great way of accessing your server remotely. VNC is platform-independent, having clients and servers for many operating systems using a graphical user interface (GUI). VNC is a protocol like SMB or NFS. Unlike these protocols, VNC has different variations, all with different features and price points.
Since we’re interested in free and open-source here at SmartHomeBeginner, we’ll be using TightVNC for this guide. There are other options such as tigervnc, vnc4server, and x11vnc. But TightVNC is one of the most common ones, it is tried and test low no RAM usage, and generally considered a great solution.
TightVNC is a free VNC software package that allows users to utilize the VNC protocol on their network. In other words, this will allow you to view a desktop GUI on your server from another laptop, on your smartphone, or even on the internet using SSH or Guacamole .
Ubuntu Vnc Server Gnome
1. Preparation
You must prepare an Ubuntu 18.04 server that can be remote via SSH or directly from the terminal on the screen. An adequate internet connection is needed to download the software.
For VNC clients from your computer. You can use the VNC Viewer application, for example, RealVNC. Please download the app and install it on your computer. You can get the RealVNC Viewer download page at VNC Viewer Download.
In this experiment, we used a Dedicated Server with Ubuntu 18.04.1 (Bionic Beaver) OS that was accessed using SSH with a local connection.
2. Install VNC Server
System Update
Before we continue the installation, make sure your server has been updated to the latest version.
If there is an update, you should restart your server so that you can boot with the latest application.
Install Tiger VNC
After server up again, install the required packages, then install TigerVNC.
Install Gnome
Next, we will install Gnome Desktop on our Ubuntu server.
Start the gnome desktop service, and make sure it runs when booting.
VNC Password Settings
Next, we will set the VNC password that will be used when we are connected to VNC Server. Use the following command.
Enter your password, then verify. You can make the password read-only if needed. But if it’s not required, you can confirm by pressing the N button.
If the vncpassword command doesn’t work, use the vncserver command, enter the password, then kill vncserver.
3. Startup Script Settings
Next, we will create a startup script as the initial configuration that will be executed when the VNC Server is activated. Create a ~/.vnc/xstartup file with the nano command.
Then fill in the following code.
Start VNC Server
To run the VNC Server, you can use the following command.
The above option will create a session that allows connections from outside with 800 × 600-pixel resolution and sharpness 24. You can configure the resolution and sharpness according to your taste.

Start Stop Script
To make it easier, we will create a script to start the VNC server service. Also, with this script, we can make autostart VNC servers when the computer is turned on. Create a file with the name vncserver@.service in the /etc/systemd/system folder. Use the nano command.
Then fill in the following script.
Note that in the User row, make sure the user matches the user you are using. Because we use a user away, we fill the option away.
Stop all VNC sessions if available.
Make sure to enable at startup, then restart VNC Server.
Up to this point, your VNC Server has finished, and can automatically be used when your server is restarted.
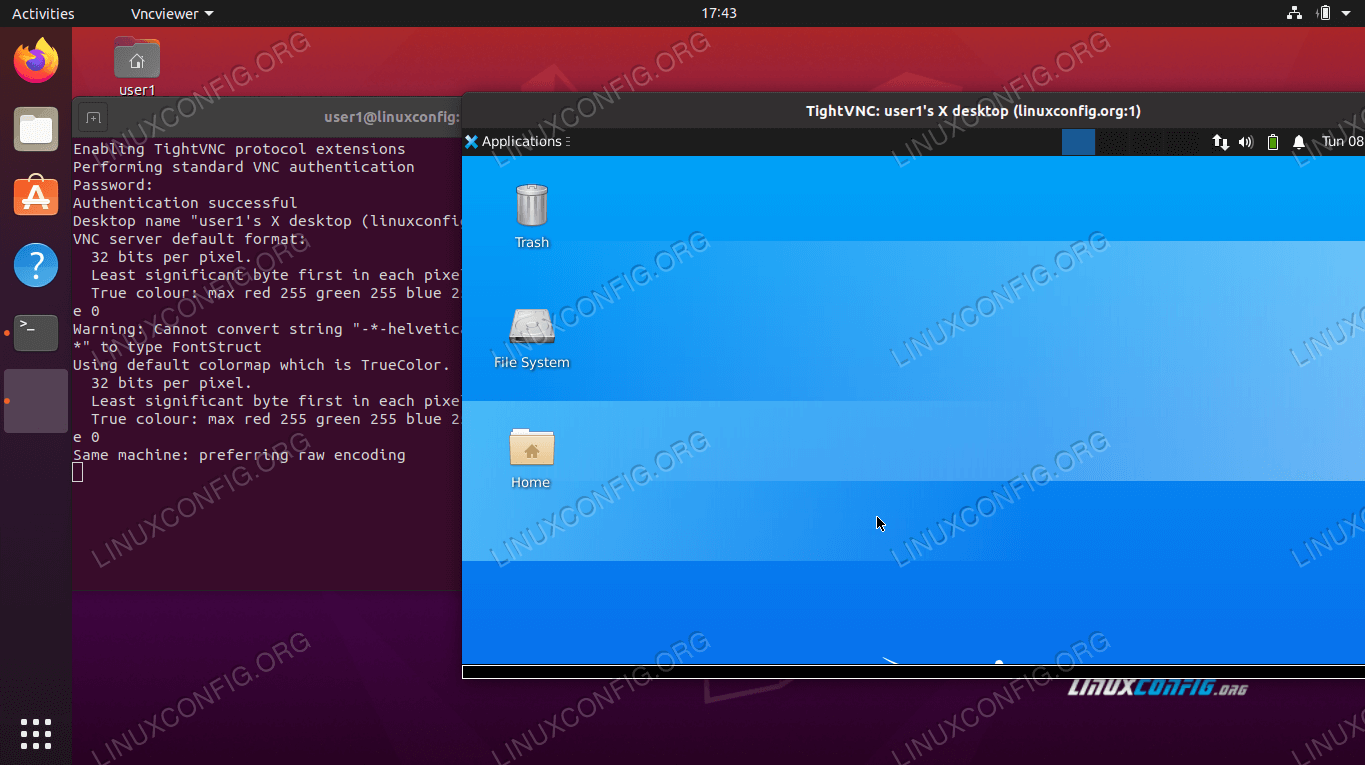
4. Connect to VNC Server
Well, after the installation process is complete, you can connect to the VNC Server by using the VNC Viewer that we have previously installed.
Enter your server’s IP address with port 5901 (For ID 1). If successful, you will be asked for a VNC password. Enter the VNC password that was previously set.
5. Another thing
There are several things to know about VNC Server to better understand how VNC Server works.
See if VNC Server is active
You can verify that your VNC Server is active and running with the following command.
Or
See who is connected
To view listings of anyone connected to a VNC server you can use the following command.
Delete the VNC session
You can delete a VNC session with the following command.
The above command will delete the VNC session with ID 1. You can customize the ID. Or you can remove all VNC sessions with wildcard marks.
When this command is run, all connected to VNC will be automatically disconnected.
Install Vnc Server Linux
Step 1: Installing the Desktop Environment
If you’ve installed a minimal version of the operating system, which gives only a command-line interface not GUI. Therefore, you need to install a GUI (Graphical User Interface) called GNOME or XFCE desktop which works very well on remote VNC access.
Step 2: Installing TightVNC Server
TightVNC is a remote desktop control software that enables us to connect to remote desktops. To install, use the following yum command as shown below.
Step 3: Create a Normal VNC User
Create a normal user, that will be used to connect to a remote desktop. For example, I’ve used “tecmint” as a user, you can choose your own username.
Step 4: Set VNC Password for User
First, switch to the user using (su – tecmint) and run ‘vncpasswd‘ to set the VNC password for the user.
Note: This password is for accessing VNC remote desktop, and the password we created in step 3 is for accessing the SSH session.
The above command asks you to supply a password twice and creates the “.vnc” directory under the user’s home directory with a passwd file inside it. You can check the password file is created, by using the following command.
If you are adding another user, just switch to the user and add the vnc password with the vncpasswd command.
Step 5: Configure VNC for Gnome
Here, we will configure TigerVNC to access Gnome using the user configuration settings from the ~/.vnc/config file.
Add the following configuration to it.
The session parameter defines the session you want to access, and the geometry parameter adds the resolution of the VNC desktop.
Now exit from user login and return to root user login.
TigerVNC comes with default configuration settings that allow you to map a user to a specific port in the /etc/tigervnc/vncserver.users file:
The configuration file uses <display_port>=<username> parameters. In the following example, we are assigning display port :1 to user tecmint.
If you are adding another user, just set the display port to :2 followed by the username.
Step 6: Starting the Tigervnc Server
After making all changes, run the following command to start the VNC server. Before starting the VNC session with a “tecmint” user, let me give you a small intro about Port Numbers and ids.
By Default VNC runs on Port 5900 and ID:0 (which is for the root user). In our scenario, I’ve created tecmint, ravi, Navin, and avishek. So, the ports and id’s are used by these users as follows
So, here user “tecmint” will get port 5901 and id as :1 and so on. If you’ve created another user says (user5) then he will get port 5905 and id:5 and so on for each user you create.
To start and enable the VNC service for the user assigned to the display port :1, enter:
You can confirm that the VNC service is successfully started with:
To allow VNC access for other users, simply replace 1 with the display port number.
Step 7: Open VNC Ports on Firewall
Open port on iptables, firewalld or ufw, say for the user (tecmint) at 5901.
For multiple users, ravi, navin, and avishek. I open ports 5902, 5903, and 5904 respectively.
Restart Iptables service.
Step 8: Download VNC Client
Now go to your Windows or Linux machine and download the VNC Viewer client and install it in your system to access the desktop.
- Download VNC Viewer
Step 9: Connect to Remote Desktop Using Client
After you installed the VNC Viewer client, open it you’ll get something similar to the below screen. Enter VNC Server IP address along with VNC ID (i.e 1) for user tecmint.
Enter the password that we created with the “vncpasswd” command.
That’s it, you connected to your Remote Desktop.
Conclusion
If you’re looking for an easy, duplicate of Ubuntu Vnc Server, Heroku is a great choice. Clone Ubuntu Vnc Server using the given steps and you’ll be up and running in no time. In addition to Ubuntu Vnc Server being a great clone, it’s also important to have a long-term investment strategy in place so that your money is well spent over the long term. Additionally, be prepared for volatility in the market as there are bound to be many changes in the near future that could affect your business. Finally, stay updated on financial news and other important updates so that you can make informed decisions about your investments.